


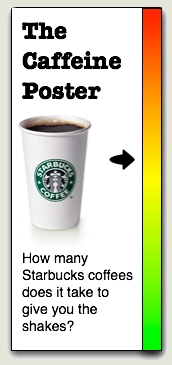
Making-Of The Caffeine Poster - Part 1
 Randy
Randy
As much as I love infographics, I’m not a graphic designer. I’ve created a number of graphics for my corporate jobs, but they always deal with confidential information so I can’t share those on the blog. Up until now, all of the graphics I’ve posted about on Cool Infographics are the work of great designers around the world. Recently, I decided to try my hand at creating one of my own to share with everyone.
If you follow me on Twitter (@rtkrum), you may have read that I started on this back in June 2009. I haven’t had much time to spend on it, so it definitely took longer than I originally thought. I want to share some of the decisions and solutions I came across during the process, and maybe it will help anyone reading this when they work on their own infographics.
You may say, “This is such a simple graphic, why did it take 6 months? It looks like it should be pretty easy.” First, I would say that I wasn’t working on it full time, but I think the exercise also highlights how much work really goes into infographic designs. It’s not a new sentiment, but let me say that designers don’t get enough credit.
What should the infographic be about?
Of course the first question I had to tackle was what should I create an infographic about? I wanted to find something that had a lot of publicly available data, but also a topic that hadn’t already been covered by a bunch of other graphics. A topic of interest to a lot of people, so the audience for the infographic would also be large. I liked the idea of caffeine content because although the data is available online, it’s not included on the government regulated Nutrition Facts on drinks. Very few companies add it voluntarily, but for the most part you have to go find the data on your own.
Also, the data available online was predominantly text figures, so you have to scroll through pages of information to find the drink you’re looking for. This combination of hard to find data, and hard to decipher once you find it made for a good topic.
How to calculate the data?
I created a simple spreadsheet to massage the data, and there were two ways I could have calculated the caffeine content. Either total caffeine content (mg), or caffeine concentration (mg/oz). Although caffeine concentration would be a good common denominator to compare drinks, it doesn’t capture how much you consumer when you actually purchase a drink. Most of these drinks don’t come from a dispenser where you could choose how much you wanted to drink.
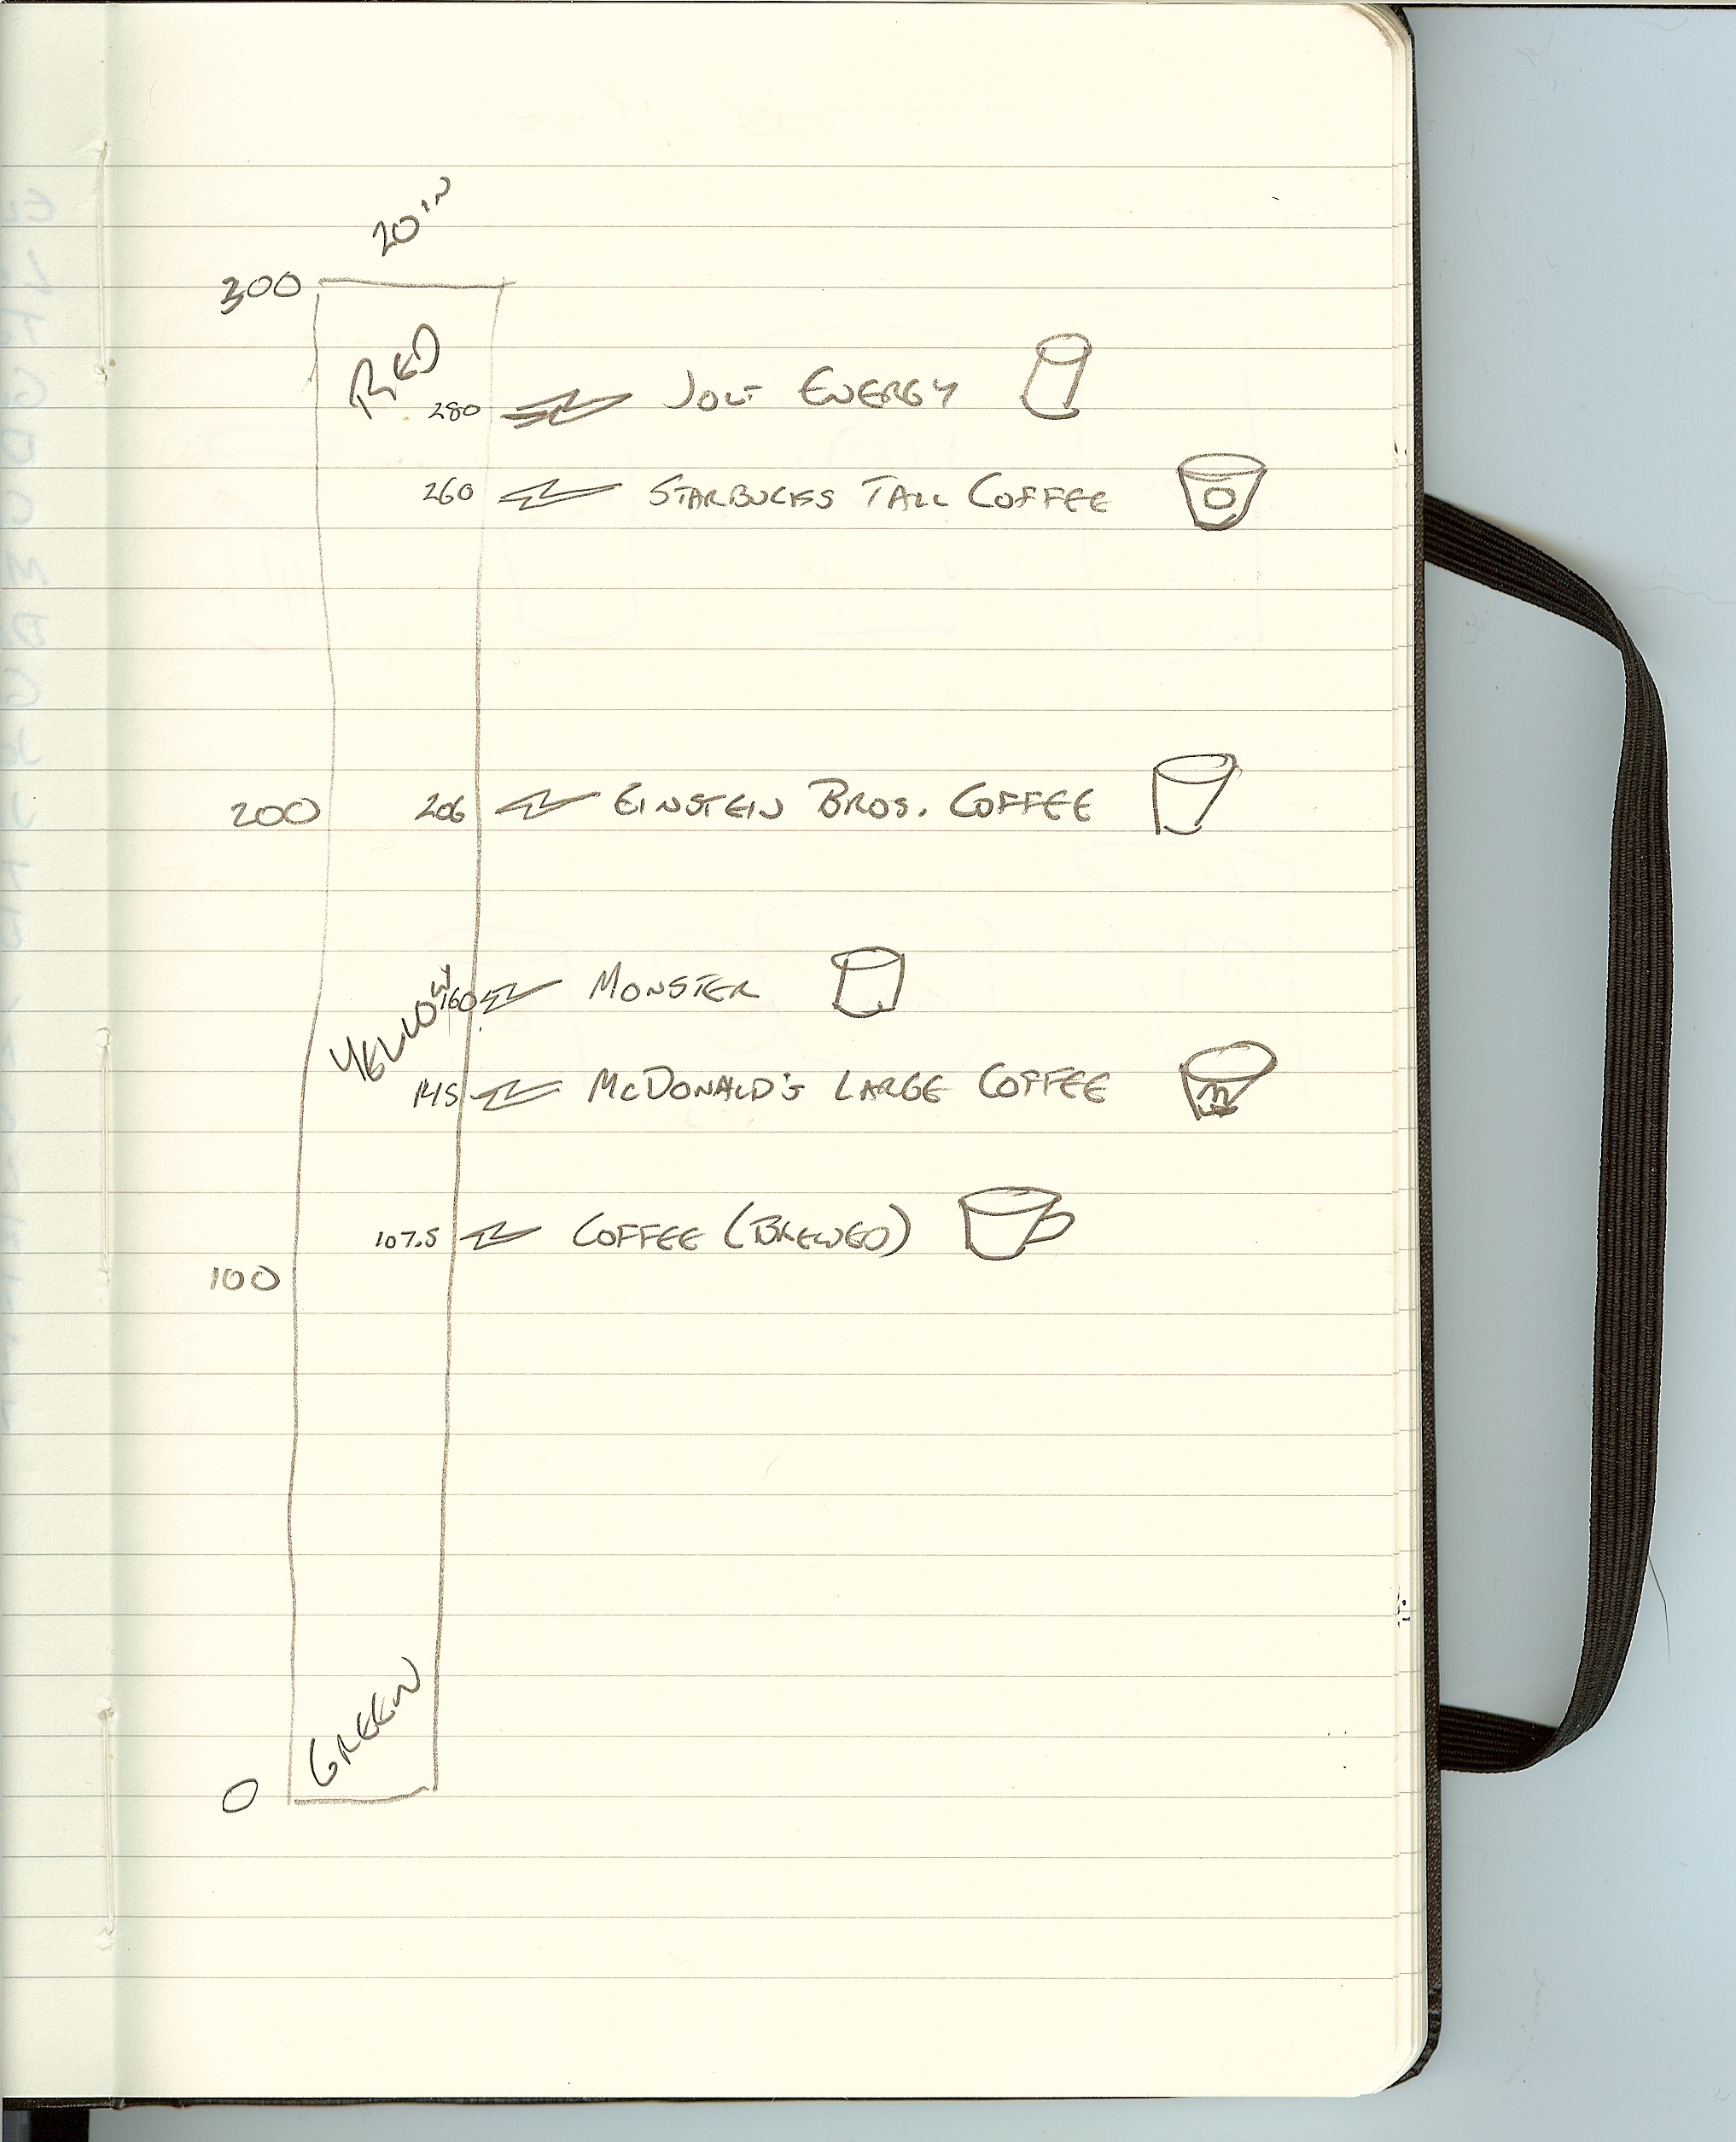
For example, the Starbucks Doubleshot is a very high concentration (20 mg/oz), but it comes in a 6.5oz can. Therefore you only get 130mg of caffeine when you drink a can. Compare that to a McDonald’s Large Coffee that has a lower concentration (9 mg/oz), but comes in a 16oz cup for a total of 145 mg.
Ultimately, I decided to visualize the consumer friendly version that would should how much you get when you make a purchase decision, and went with the total caffeine content.
What type of visual should I use?
The scale was the obvious choice to show the relative content of the drinks. Back in June, I started with a very simple sketch in my Moleskine.
Because there are so many drinks in the lower half, my original design thought had a closeup of the 0-100mg range. Here’s an early working version:
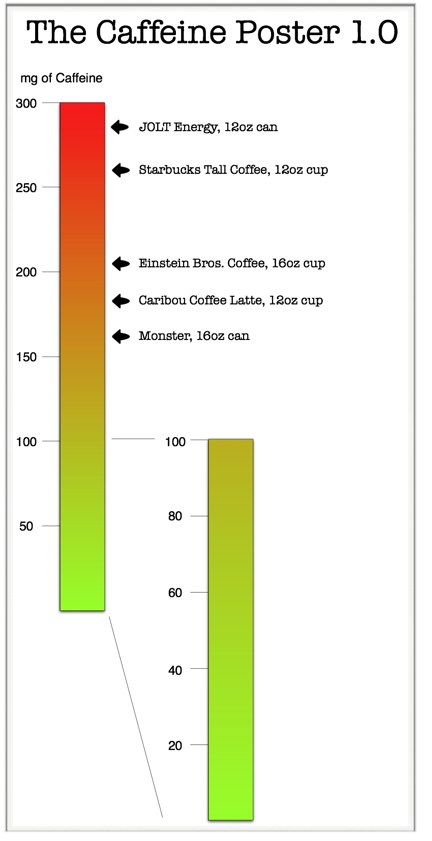
I didn’t like how this looked, or how much dead space in the post this would create. So ultimately I ended up significantly cutting down the number of drinks I could include, and moving the scale to the center so I could include drinks on both sides.
You’ll also notice how muddy brown the yellow in the middle of the scale looks in these old images. I later figured out how to do a 3-color blend instead of just a 2-color blend from red to green.
What software did I use to create the poster?
This is easily the most asked question I hear about any infographic. I use a Mac, and really only used a small number of applications. Here’s a list of the software packages I used:
- OmniGraffle Pro 4.2.3 - Overall layout and creation of the final image
- Pixelmator 1.5 - Image editing
- Keynote 5.0.3 - Used for image editing and alpha masks
- Numbers 2.0.3 - For the data calculations
I will add that one of my best friends is an art director, and she helped clean up a few of the photos using Photoshop and Illustrator. A huge “Thank You” to Steffani for her help.
More to come…

Reader Comments (5)
Good backgroundstory. Thanks.
Good post... did I miss something though? Did you mean to put a link to the final version in this post or are you waiting for "part 2" to do that?
It was refreshing to hear your experience. I try to get out a much more utilitarian infographic each week, along with a short (1000 word) explanation of it and it's hard to keep that pace up for much of the reasons you cite.
Two observations:
a) for data that spans a large range using a volume graph instead of a linear graph can help. See for example my graphic here (Mouse over a State's abbreviation to start.) The stimulus dollars each state gets varies by a factor of nearly 150x. If I had only 100 pixels to draw it in, it wouldn't fit. However, if I make a square of it then a square 12 pixels on a side is 144x larger than a one pixel square. And it looks a lot larger too. People understand this even if they don't follow the math.
b) as far as subject matter goes... you know me... news is a perpetual source of ideas.
Mike
I do have much more to add, so I'll add the link later. I'm working to create a separate page dedicated to The Caffeine Poster and all of the Making-Of discussion.
I did consider early on that the size of each drink image could be representative of the volume of caffeine content, but when I tried that it didn't work out too well.
My mistake on not seeing the full poster... I check my RSS feeds only a few times a week and most recent first... Nice poster!
I'm curious to get more background on why you thought using "volume" of caffeine content didn't work out too well... (not that I'm advocating the technique, but curious to learn from what you chose to use and and what you chose NOT to use).
At a factor of 47x from decaf coffee to Jolt cola and about 20 items... I imagine a volume graph would get pretty crowded. Was that the reason? Or was it partly stylistic as you imply above that doing so would be hard to fit in all the graphics for all the various drinks?
One of my original ideas was to scale the image of the drink to represent the volume of caffeine for that container size (10oz, 12oz, 165oz, 23.5oz, etc.). The problem was that since the actual sizes are different to start with, you can't perceive any visual difference when I scale them. It would have worked if they were all 12oz soda cans, but not when they were different sizes to begin with.
You're also right that it started to get crowded, and I would have had to cut back even more on the variety of drinks I could show. Although, after printing it out poster size now I can tell that all of the drinks could be scaled down in size to make room for more drinks on the scale.