


Making-Of The Caffeine Poster - Part 2
 Randy
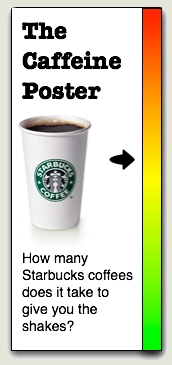
RandyThis is Part 2 in the continuing the series to share the details behind creating The Caffeine Poster. I am going to create one web page to combine all of these Making-Of notes together, and I’ll post a link to that in Part 3.
Where did the data come from?
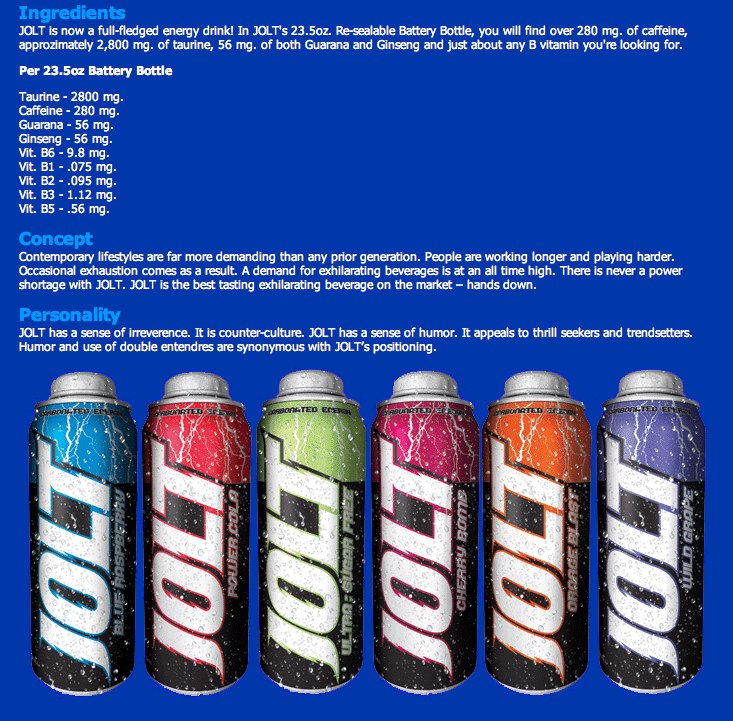
There was no one, single complete source for the data. A number of the company websites have their caffeine content listed in the Nutrition Facts of product information, so if it was available I used their own information.
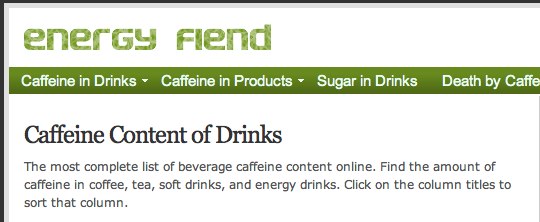
EnergyFiend.com has the largest database I found of caffeine contents in drinks and foods. If I found different values for the caffeine content on different websites, I would just use an average.

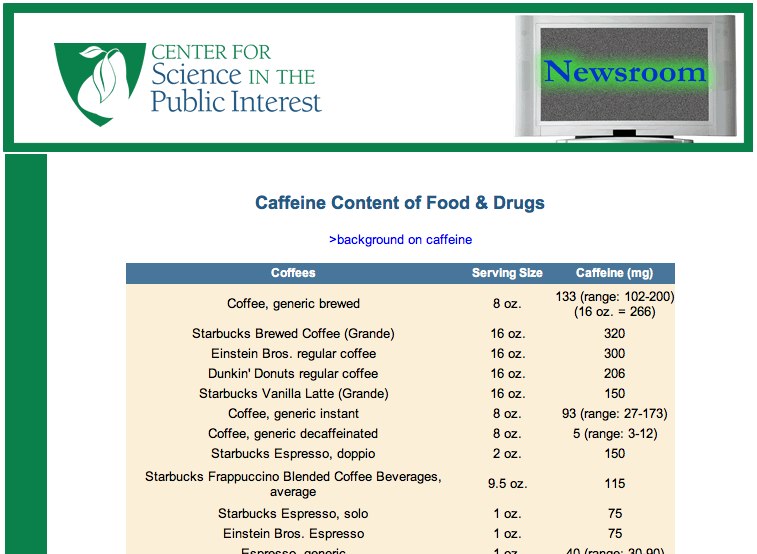
The Center for Science in the Public Interest also has the caffeine content listed for many drinks.
As a side note, EnergyFiend also has this great Death By Caffeine calculator!

The drinks come is many different sizes. Why didn’t you standardize the drinks sizes?
This was probably the feedback I’ve heard most often since posting the infographic. I posted a short answer in the comments, but here I can provide some additional explanation.
First, the data itself isn;t that complicated. I didn’t need to use any statistical software to massage the numbers. A simple spreadsheet in Numbers takes care of all the number crunching.
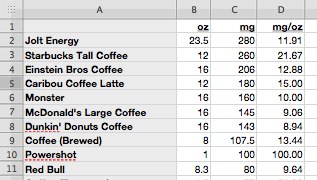
Even in this small piece of the spreadsheet, you can see a number of different drink sizes. My choice was to either visualize column C or D. The mg column represents the amount of caffeine you will consume from the entire drink. The mg/oz column represents the amount of caffeine in each oz of liquid.
From a scientific point-of-view, the mg/oz is a common denominator and is probably a true apples-to-apples comparison. This option would have shown the strength of the caffeine concentration in each formula, and you could see how much stronger the Starbucks coffee is compared to Dunkin’ Donuts.
However, my target market for the infographic isn’t the scientist that formulates the drinks, but the consumers that drink them. Most of these drinks aren’t available in self-serve dispensers, so the consumer will drink whatever quantity they purchase (10oz, 12oz, 16oz, etc.). By visualizing the total caffeine content of each drink, the consumer knows instantly how much caffeine they are putting into their body when they consume a drink.
For people that want to know the concentration, maybe I’ll add that as a side note for each drink in the next version. :)
The caffeine content can differ each time you brew coffee, how did you choose only one number for each drink?
Even though caffeine content may vary from one drink to the next, all of the company sites and other websites list one average number for each drink. Because the visual is a scale, the overall intent is to visualize the drinks in comparison to each other. Precision wasn’t as important as showing them as higher or lower caffeine content relative to each other.
To be more exact, I could have listed ranges, and that wouldn’t have changed the drink locations on the scale. BUT, ranges also weren’t available from the data sources, so it really wasn’t an option and I didn’t worry about it too much.
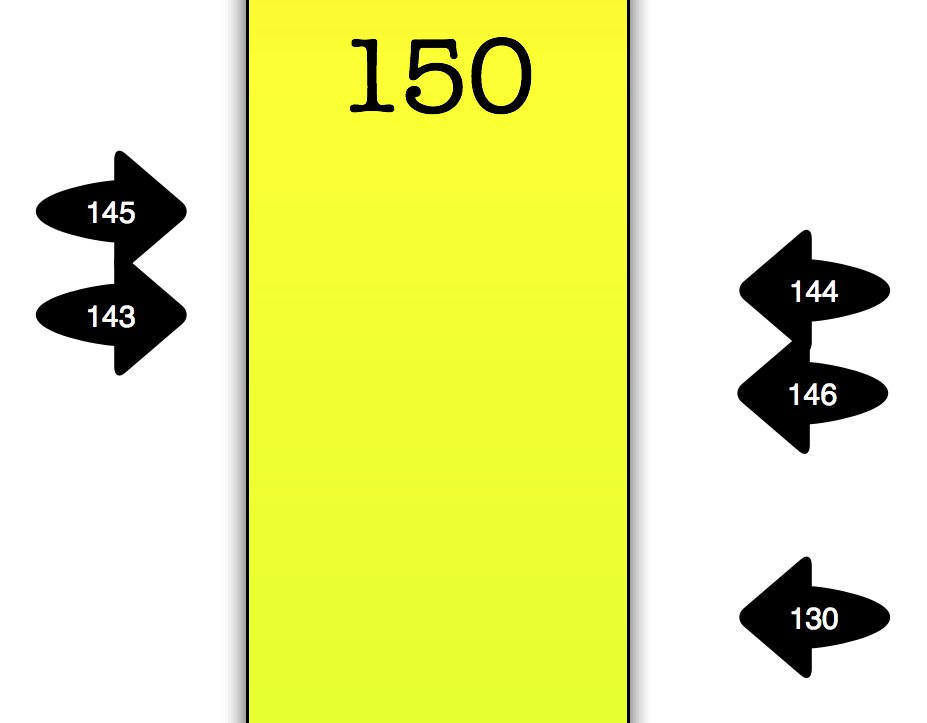
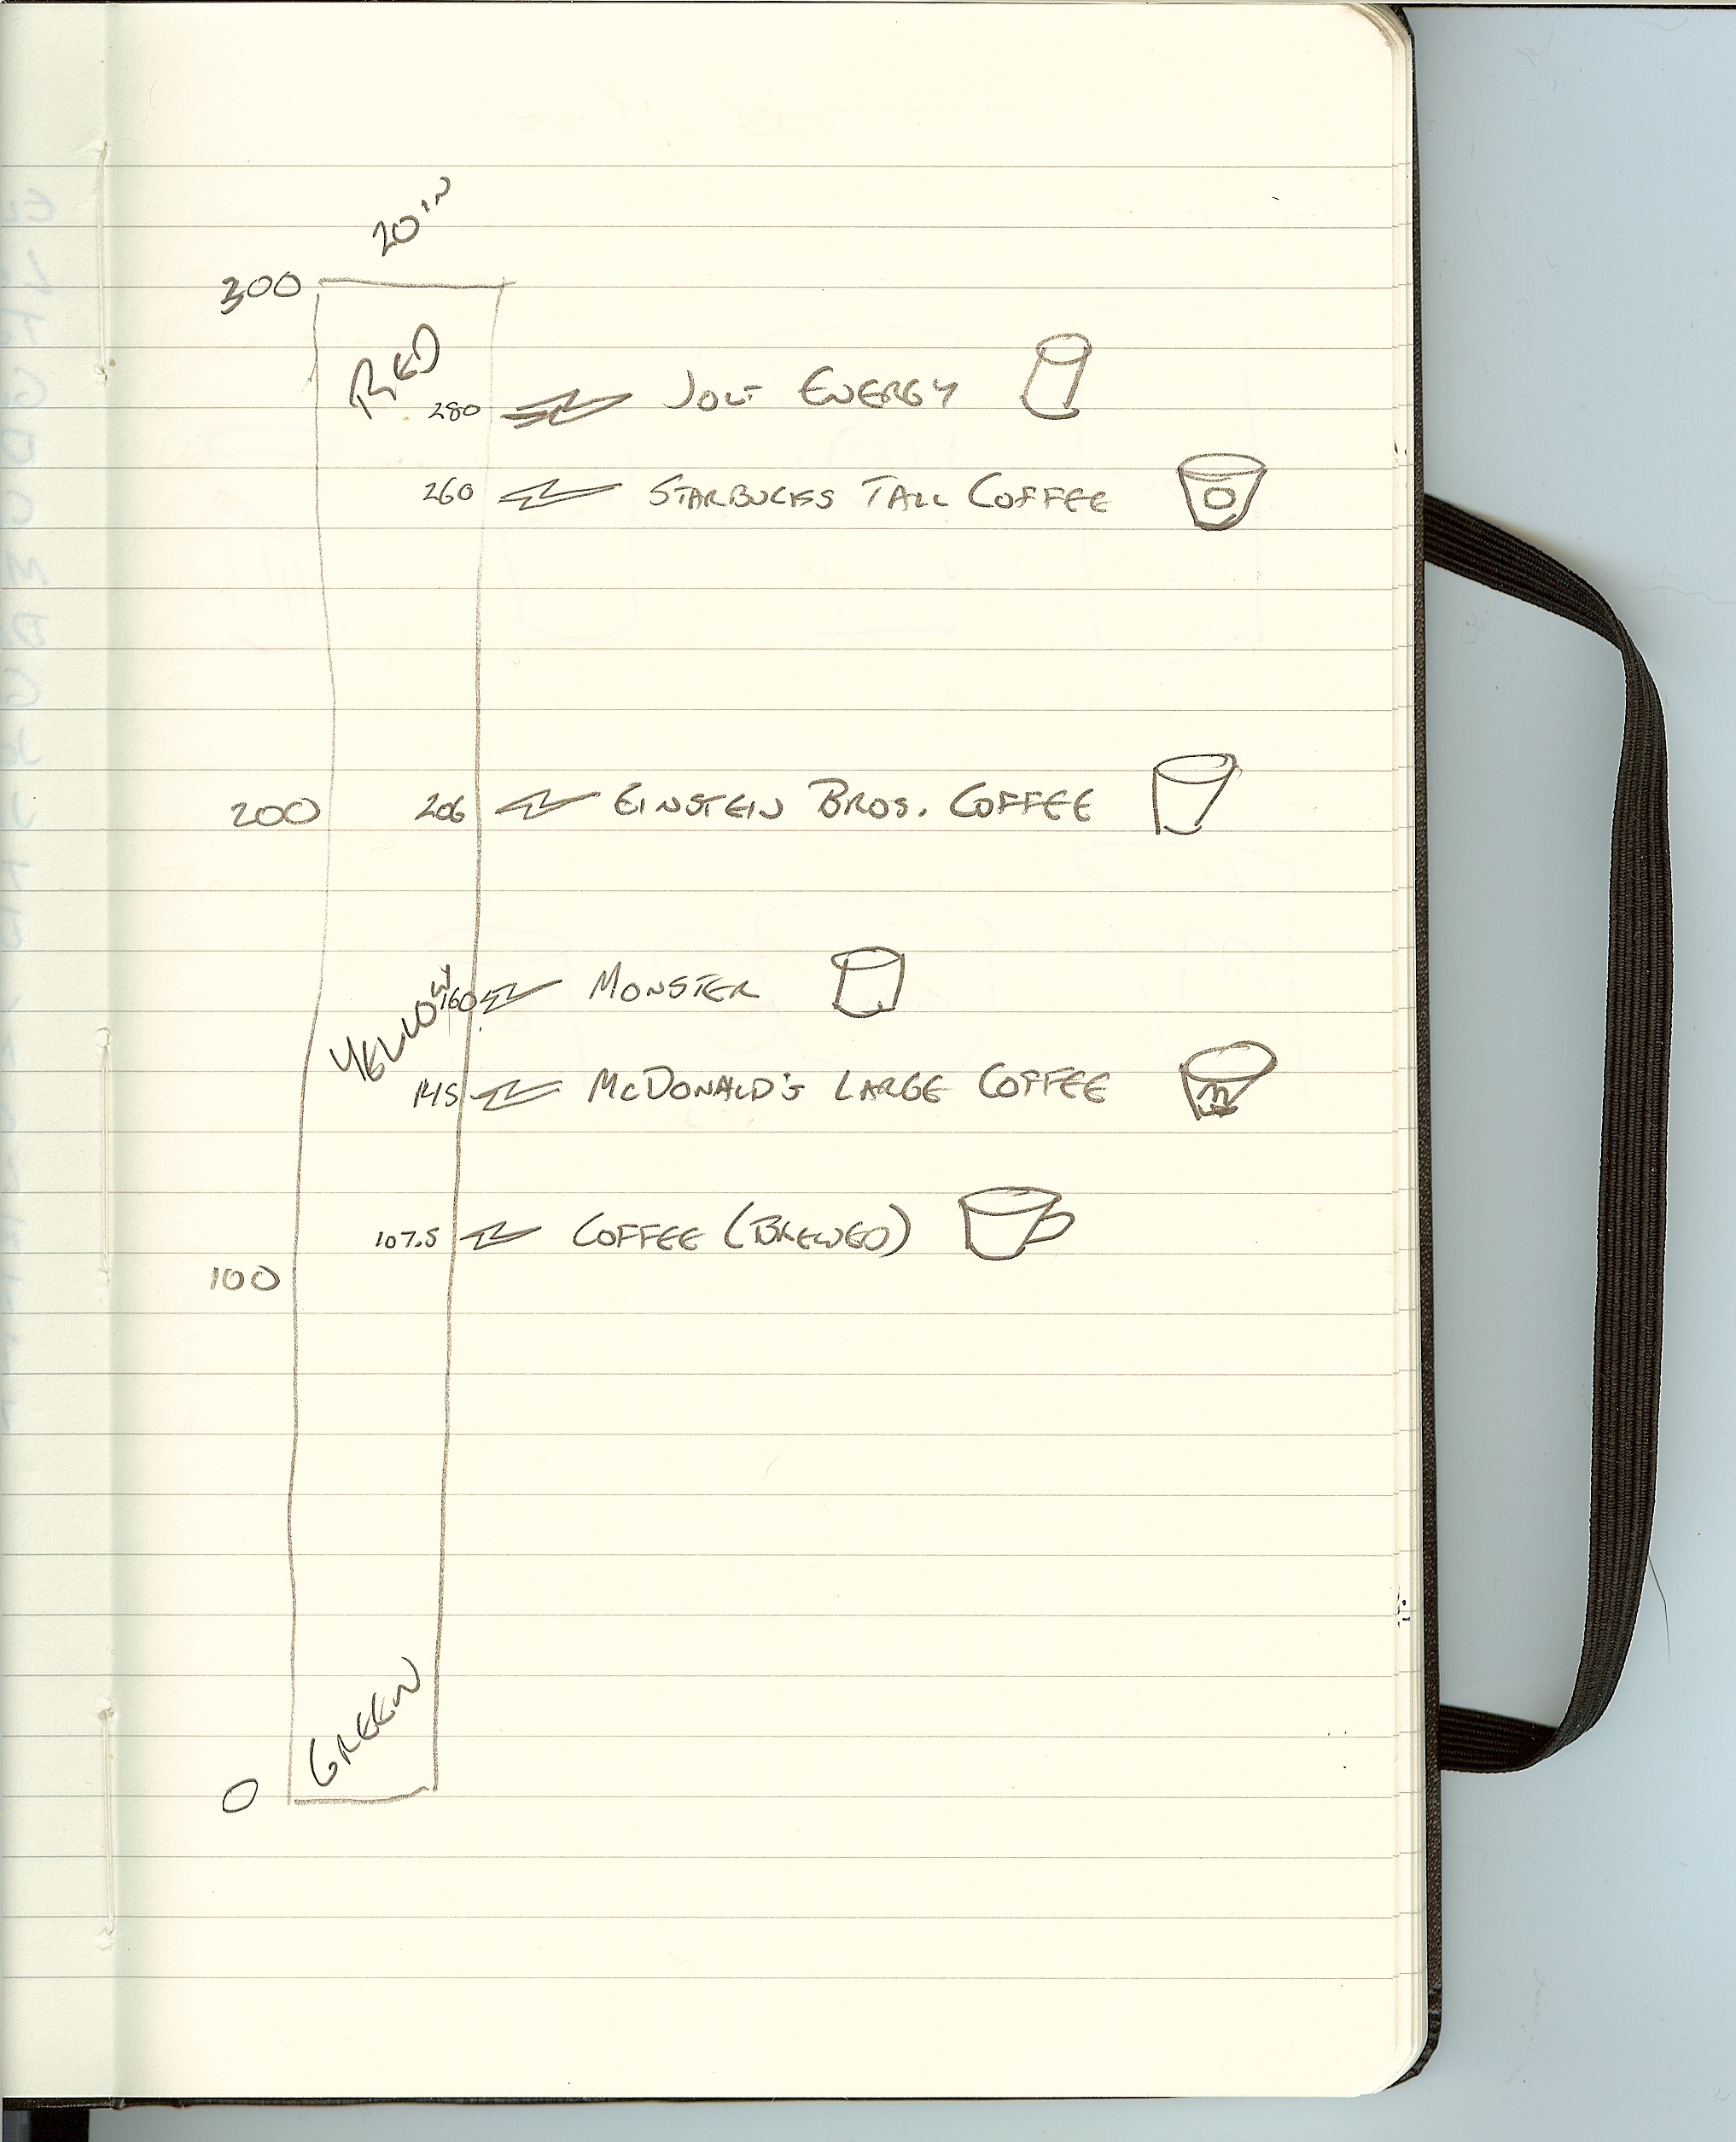
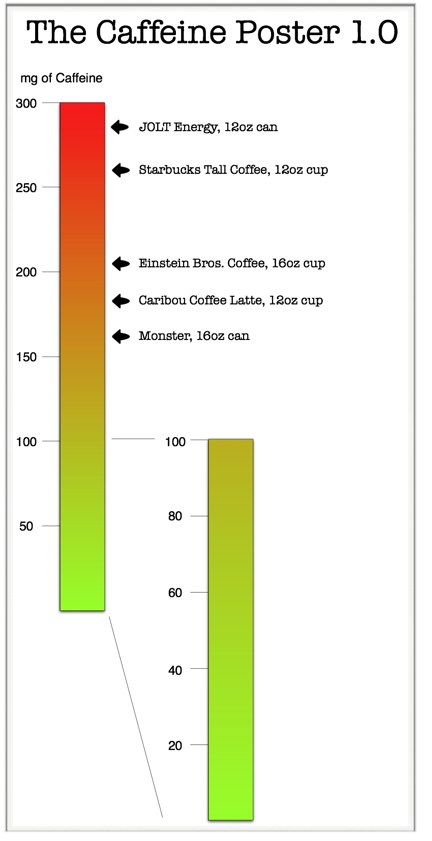
Adding the caffeine content numbers in the indicator arrows was actually a last-minute change. Originally, I had intended not to list a specific number, because the values can vary. Without the numbers, it leaves the actual content a little vague.
I also had some friends and designers look at an early version to get some feedback, and they would ask what the numbers were. In the end, I decided that I personally would want to see the values if I were seeing the poster for the first time, so I added them.
Good thing I did too! I found two drinks that were reversed and in the wrong place, so adding the numbers was a great way to check the accuracy of the design.
What is this thing?
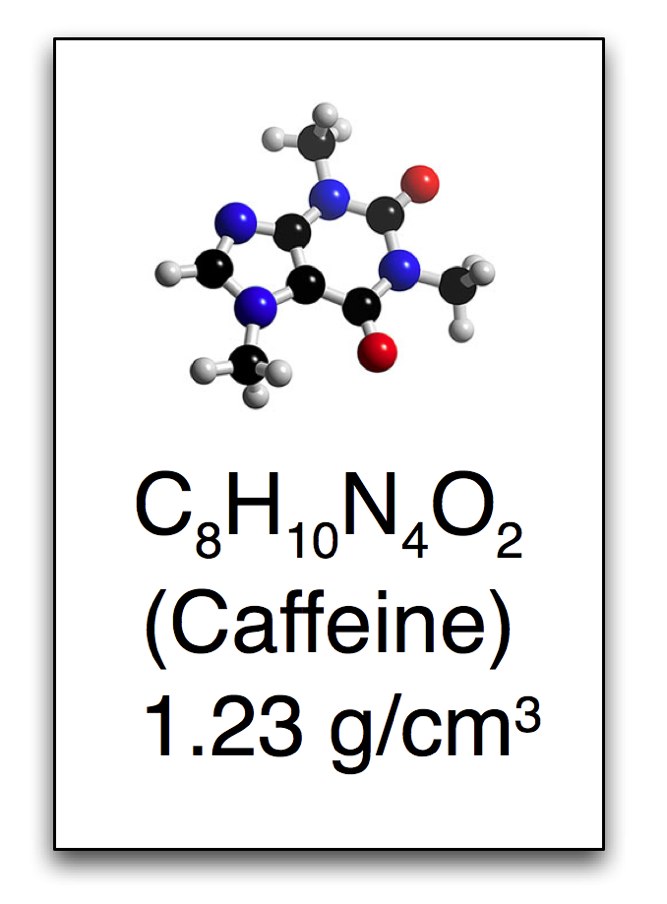
To emphasize the science behind caffeine, I included this rectangle that looks like it comes from the periodic table of elements. Caffeine isn’t an element, so I could only use the style of the periodic table with this 3-D rendering of a caffeine molecule, the chemical formula of caffeine and the molecular weight.
More to come in Part 3…